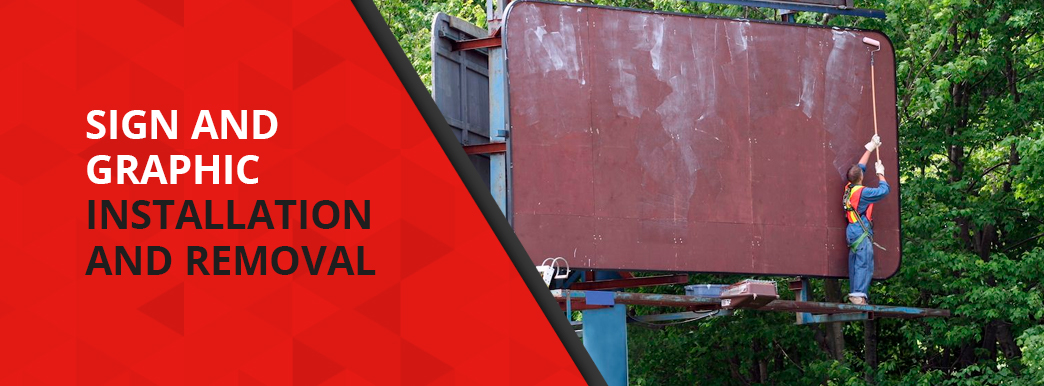
High-quality signs and graphics can provide numerous benefits to your business, but to access those benefits, you need to ensure you install your signs correctly. Following proper installation procedures will ensure your sign looks professional and is hung safely.
You’ll also eventually need to remove your signage. Some signs are designed to have a long lifespan, while other kinds are used only temporarily. Whichever signage type you have, you’ll need to remove it carefully to avoid damaging the graphic or the surface it’s attached to.
Signage typically requires several kinds of tools to apply and remove, and those mounted on buildings may even have electrical wiring running through them. To avoid injury or accident, it may be best if you hire professionals. They’ll make sure the job is done correctly and quickly, and you won’t have to purchase the necessary tools or figure out how to use them.
Let’s look at some common kinds of graphics and signs and the proper procedures for installing and removing them.
Adhesive Vinyl Graphic Installation
One of the more versatile types of signage, adhesive vinyl graphics are printed pieces of vinyl you can adhere to a clean, smooth surface, such as the front window of a building or the side of a car. They’re common forms of advertising and storefront decoration.
Depending on where you want to place your vinyl graphic, there are two main modes of application:
1. Dry Installation
Before beginning the process, you’ll need several tools, including an installation squeegee, masking tape, non-ammonia based glass cleaner, paper towels, a measuring tape or ruler and scissors or a razor. Keep them on hand and close by throughout the application, as there are points where you may not be able to remove both hands from the vinyl decal.
To prepare the surface on which you’re applying the graphic, use the cleaner and paper towels to remove any dirt, grease, oils or wax. The vinyl will not adhere to the surface if not thoroughly cleaned first. Also, ammonia-based cleaners can create bubbling underneath the decal, so avoid using them.
When you’re ready to begin the installation process, you should follow these steps:
- Step 1: Inspect the vinyl decal for any damage. Tears or wrinkles may affect the way you apply it or require you to contact the manufacturer.
- Step 2: Use masking tape to secure the outer edges of the decal in place on the surface. Make any adjustments and line it up exactly how you want it at this time. Once you’ve got the right placement, place a long piece of masking tape vertically across the center of the decal. On one side of the line, remove the tape around the outer edge, creating a hinge or flap free from the surface.
- Step 3: Carefully peel the liner off of the decal’s hinged flap, exposing the sticky side up to the masking tape line you created earlier. Don’t allow the adhesive to touch the surface accidentally, as it could ruin the decal. While holding it back, cut away the peeled liner.
- Step 4: Position your squeegee at the center of the decal where the masking tape crosses over. Begin sticking the exposed adhesive to the surface by applying pressure from the center. Press the squeegee firmly and use firm, horizontal strokes to smooth out the section from top to bottom.
- Step 5: Once it’s firmly stuck on one half, place a long piece of masking tape parallel to the original piece vertically crossing the decal, closer to the applied side. Peel off the rest of the tape, keeping the outer edges in place, remove the liner and repeat the same process for the other half.
- Step 6: Remove the layer of pre-mask covering the decal.
- Step 7: Double-check to make sure the entire decal is attached and there aren’t any trapped air bubbles. If there are, you can make a tiny incision in the decal and push air bubbles towards it with the squeegee.
This method will work for indoor and outdoor graphics on multiple surfaces.
2. Wet Installation
While the general idea is similar to dry installation, the wet variety allows you a little more time to reposition after the decal is stuck on the surface. However, it can be a bit more finicky, as you can’t complete the process in direct sunlight or at the wrong temperature. Ask your local SpeedPro shop for the installation requirements for your particular graphic.
Just as before, you will need several tools, including a squeegee, spray bottle of application fluid, non-ammonia glass cleaner, paper towels and a measuring tape or ruler. You can either purchase an application solution or make your own with water, rubbing alcohol and liquid soap.
The preparation is similar as well — use the cleaner and paper towels to remove any traces of dirt, grease, oils or wax from the surface. Once you’re prepared and ready to install, here are the steps you should follow:
- Step 1: Inspect the decal for damage before beginning the process. If it appears undamaged, turn the decal over so that the pre-mask side is down and peel the liner off of the adhesive side. Spray application fluid over the surface area where you’ll be applying the decal and be sure the area is completely covered. Spray the entire adhesive side of the decal, as well.
- Step 2: Place the adhesive side on the surface, carefully to prevent bubbles or wrinkles. Measure and adjust the decal while it’s still wet. Once you’ve placed it correctly, use the squeegee to force the application fluid out from under the vinyl.
- Step 3: Wait 30 minutes to an hour or more for the decal to completely dry. You have to be patient for full adherence. The external temperature affects drying time, so check on it now and then to see how drying is progressing.
- Step 4: Once it has fully dried, peel the pre-mask off.
- Step 5: Double-check to ensure every area of the decal is attached. If there are any trapped air bubbles, make a small incision and push them out with a squeegee. Allow for a few hot sunny days for the decal to completely cure before washing or waxing.
This method works well for outdoor applications but is not recommended for indoor uses, as the graphic has to dry to cure.
Adhesive Vinyl Graphics Removal
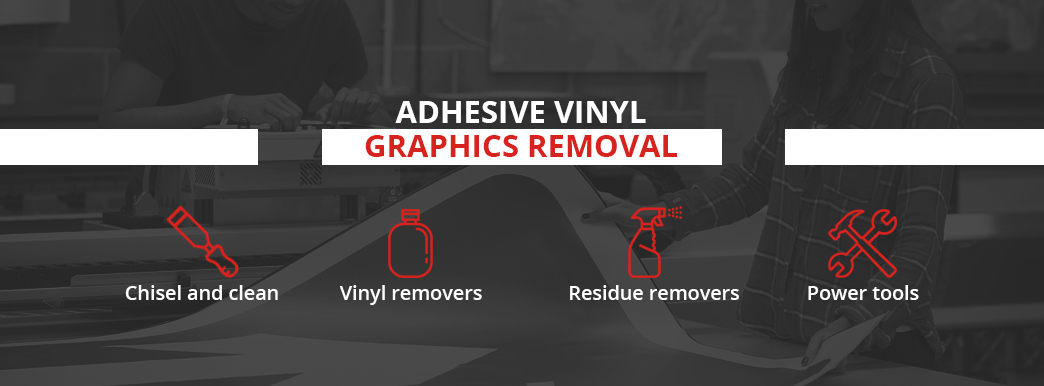
To safely remove the vinyl from your application surface, you can choose from several methods, products and tools, including:
- Chisel and clean: This is one of the most straightforward methods. There are plastic razor blades and chisels designed to slide under the vinyl and scrape it from the surface without damage. You’ll use these around the edges and move in until you’ve freed the decal. Once you have the edges up, you may be able to do the rest by hand, depending on the age of the graphic and type of vinyl. The newer it is, the easier it comes off. Old vinyl may need a bit of coaxing from a heat gun or a few hours of sun exposure, both of which will warm up the adhesive. When the vinyl is off, you can clean any adhesive residue from the surface.
- Vinyl removers: Conveniently, there are chemicals formulated to remove vinyl and adhesive in one go. When you apply them directly to the face of the graphic, it softens the adhesive layer, allowing you to pull the whole sheet off. The spray takes several minutes to penetrate, so this method does require some patience. If you still have sticky residue, it means you’ve used too much vinyl-off. Keep in mind there are different formulas for reflective vinyl.
- Residue removers: With most removal practices, there will likely be adhesive residue left on the surface, depending on the type of vinyl you use. Some kinds allow for clean removability within a given span of years. For other varieties, you’ll need a cleanser that attacks chemical bonds to make it gummy and easy to remove. Try orange peel citrus-based cleanser to rub it off or a fast-acting remover to scrape it away.
- Power tools: For big jobs or multiple graphics, you may need to resort to power tools. There are two main varieties you may use. The power stripe eliminator uses a urethane rubber wheel attached to air or electric power drill. This tool removes face film and adhesive without damaging the surface underneath. Eraser wheels are specifically for removing vinyl and refinishing surfaces. It consists of a hand-held powered motor with a spinning toothed wheel made of a rubber compound that grinds vinyl from metal, glass and fiberglass. The teeth grip the edges of vinyl to pull it off. The wheel works on reflective varieties and won’t damage surfaces, and while it is slightly more costly, it may be worth the investment for frequent or heavy use.
Regardless of the method, anyone performing the process should know how to remove vinyl graphics before making any attempts. Since there are typically power tools and chemicals involved, it’s important to know the correct methods to avoid damages.
Sign Installation
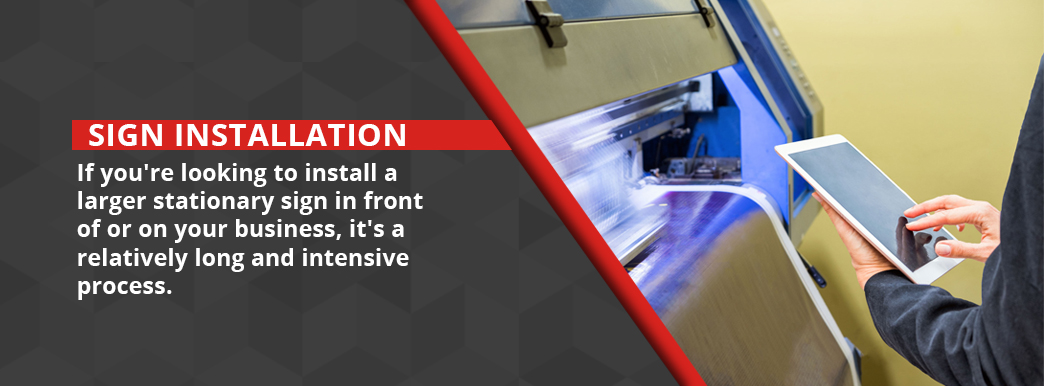
If you’re looking to install a larger stationary sign in front of or on your business, it’s a relatively long and intensive process. It requires more specific measurements and allowances than vinyl styles and will be difficult to do without the help of several trained professionals and some essential equipment.
For commercial sign installation, you’ll have to go through the following processes:
- Briefing: First, you’ll need to examine the site, figure out any requirements for installing a sign, focus on a target audience, check on the viability of potential locations and take accurate measurements of the application surface or area. This initial examination will expose potential limitations or opportunities for your project.
- Concept development: Once you know where you’ll be applying the sign, you have to decide on the necessary processes and technology to complete the project. Design a preview, to scale, with the appropriate color schemes to get an accurate feel for how the signage will look. From there, select the materials you’ll need to create the sign, and stick within budget while also considering structural integrity. If you’re working with a sign manufacturing company, this is the stage in which to get a quote.
- Surveying the site: Take another look at the installation site to ensure the final design fits the landscape or building and intended purpose. Double-check any measurements, consider vehicle access and, if needed, figure out how to access the power supply.
- Manufacturing: Signs can be made from a wide array of materials, including metal, plastics, aluminum composites, vinyl and many other choices. With the proper machinery and technology, sign manufacturers will take the specs you’ve already recorded and designed and create the desired product. If you want it to be dimensional or illuminated, they’ll include the elements necessary for mounting it on your building, such as electric cables and bulbs.
- Installation: It’s best to have an experienced team for the installation process, especially when working with heights. You’ll need to have the proper mounting tools — depending on the type of sign and surface material — as well as a truck to lift workers and the sign. Professionals will ensure the sign is fixed in place and any wiring for lighting is properly configured. Signage installation methods vary with the type of sign and its purpose.
- Maintenance: Be sure to keep your sign in good shape and to have repairs made in the event of weather damage or natural wear.
While the installation process varies with each type of sign, it takes professional know-how to get the job done correctly. The installation process starts with making accurate measurements and planning out a practical design, not just mounting the finished product to a building.
Sign Removal
Removing a business sign is far more technical than vinyl methods. It requires more tools, effort and an increased focus on safety. You also can’t simply dispose of the materials in the garbage. Similar to the installation, it may be best to find a professional sign removal team.
When it’s time for your old sign to go, you need to consider:
- Removal: Using the proper tools to dismount the sign is essential to safety and saving the building’s facade. Your team will need to access it through a lift truck, remove all the mount pieces and disconnect it from the electric supply. If it’s a ground display, such as a monument sign, the process is a bit easier, but it still involves safety concerns.
- Disposal or storage: Once the sign is off, you have to decide how to dispose of it safely. Some of the materials used are recyclable, and others may be considered hazardous waste by many municipalities. Check with your local regulations before making a decision. If you plan on using the sign again, whether it’s in a new location or just once you fix up your building’s facade, you’ll have to store it properly. Some installation and removal companies will offer to store the pieces, but you may have to find space yourself.
- Building repairs: With nothing in the way, you’ll be able to see holes where the mounts were and, often, staining that shows where the edges of the sign used to be. It’s important to fill in the holes and sort out exposed wiring to keep the building in good condition for future sign installation. You should also take advantage of this time to do any power washing, painting, texturing or other renovations. Depending on how long the facade has sat untouched, it may need a significant amount of repair.
Sign installation companies will often also specialize in removal. They can ensure that the entire process is completed thoroughly and correctly and that you won’t be left with any damage.
Vehicle Graphics Installation
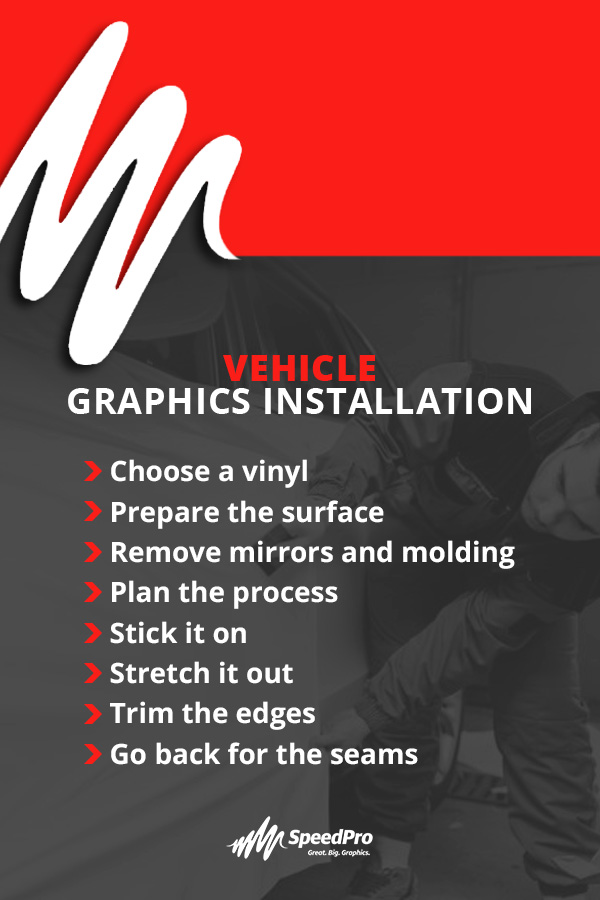
Similar to the vinyl decal application, car vinyl installation is all about patience and being careful. It’s not overly technical, but it is easy to mess up, and it will not look professional with wrinkles, seams and bubbles. You want to give your vehicle a smooth, sleek look, and to do that correctly, you need to follow these processes:
- Choose a vinyl: The first step is choosing your vinyl and having the design printed. Vinyl is typically available in large rolls that you can later cut down. The amount you buy will depend on the surface area of your car, truck or van and how much of it you expect to cover.
- Prepare the surface: Give the vehicle a thorough cleaning with the proper chemicals to remove all dirt, grease, oils and waxes. Fix up any scratches, dings and rust holes before applying the vinyl. Otherwise, all of those imperfections will be visible and affect the look of the graphics. The wrap will help protect the paint from further damage.
- Remove mirrors and molding: If there are any plastic or metal accents that will get in the way, remove them before starting the process. Doing so cuts down on labor time and makes applying the vinyl much less difficult and frustrating.
- Plan the process: The actual step-by-step process you go through will be different with every car style and personal preference. It doesn’t matter where on the body you start, but you should have your plan of action ahead of time. To make the process easier, cut the vinyl sheets into smaller sections to fit with the breaks in the body. Focus on individual body panels, like doors or bumpers. Use tape or magnets to hold the sections temporarily in place.
- Stick it on: One segment at a time, expose the adhesive and begin applying. Start adhering at the center of each panel and move outwards, smoothing the vinyl with your hands or a squeegee to avoid wrinkles and bubbling.
- Stretch it out: As you move outward, stretch the vinyl and let it shrink back into place for a tight fit. You may want to use a heat gun to encourage the material to stretch. This method of pre-stretching helps with angled or concave panels, like bumpers.
- Trim the edges: Once you’ve got the vinyl adhered, cut off the excess edges. You’ll need a steady hand and a sharp razor to make clean lines.
- Go back for the seams: Having seams where your vinyl sheets meet or where the car panels end is relatively unavoidable. There are several ways to go about fixing them to look the best they can be. You can overlap the vinyl and cut a seam in with a knife, overlap it with the edge facing away from the natural line of sight or use knifeless tape, which has an embedded Kevlar filament thread in it. If using knifeless tape, apply it under the vinyl wherever a seam is and pull the thread through the adhered vinyl to cut it cleanly. You can also use pin striping to hide seams.
Vinyl is a tricky medium to work with, as it is so easy to accidentally make mistakes and imperfections, especially in a full vehicle wrap. Your best bet is to find a company that does reliable vehicle decal installation near your business.
Vehicle Graphic Removal
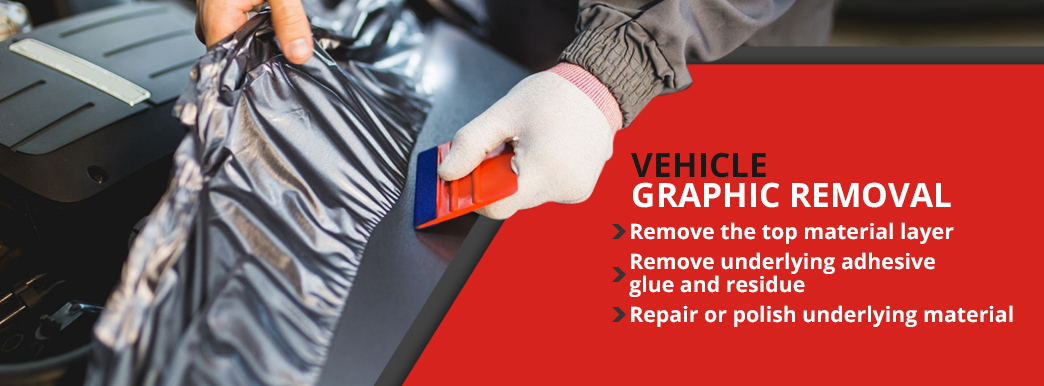
Removing vinyl graphics from a car is a very similar process to the methods used in vinyl decal removal. The same basic rules apply:
- Remove the top material layer: If the graphics have not been on for a long period, you may be able to easily peel off the vinyl. However, in most cases, you’ll need some extra help. You may be able to remove uncracked graphics with a heat gun, which loosens the underlying adhesive. To remove old, cracked vinyl graphics that have seen some weather damage, a power stripe eliminator or eraser wheel tool may be the best bet.
- Remove underlying adhesive glue and residue: For this step, you’ll need a cleanser. The important thing to remember here is that not all adhesive removing chemicals work the same. Non-toxic, water-soluble solutions are better for your vehicle. Spray on the remover and rub the adhesive with a car-safe towel.
- Repair or polish underlying material: Once you’ve gotten everything off, you may have left small abrasions in the vehicle paint. It’s a frequent occurrence and is often unavoidable. Repairing the slight damage and polishing out any abrasions will make the vehicle look better and provide you with a smooth surface to apply new graphics to.
More than anything, removing old vehicle wrap takes patience, especially if it covers the full body. If you aren’t sure how to remove vinyl graphics from a car or you don’t have the right tools on hand, don’t make an attempt at it — you could end up damaging the paint. It’s a better idea to hire a vinyl graphic installer who can complete the process quickly and correctly.
Let SpeedPro Take Care of Your Installation and Removal Needs
Not only will SpeedPro help you create the signs you need, but we’ll also provide you with pro sign installation and removal services. Our professional teams can help you with many kinds of sign installation, from mounting backlit channel letters on building facades to applying vinyl wraps to your fleet. We’ll also quickly and effectively remove them when you need a new look.
Once you partner with a local SpeedPro studio, you’ll have access to industry-leading products and customer service. We want to provide your business with the best overall experience possible, so you can enjoy your signage without having to deal with the hassles of installation and removal. And with a nationwide network of studios, we’re always nearby.
If you’re ready for a replacement, find your local SpeedPro studio and get started today.


