How Long Do Floor Graphics Last?
JANUARY 16, 2019| SpeedProCategories
GraphicsHave you ever been walking along the sidewalk or through a mall when you spotted a colorful advertisement where you least expected it — on the floor? Floor graphics take advantage of the untapped potential of floors as a place to get your message across. Floor graphics don’t only appeal to marketers. They’re a great way of personalizing or adding creativity to a space.
Of course, since floor graphics are designed to be stepped on, you may wonder how durable they are. The short answer is that the average lifespan of floor graphics is about six months. In most cases, after this amount of time, floor graphics start to show some wear and need to be replaced.
The complete answer, however, is that the lifespan for floor graphics depends on a variety of factors. In some cases, floor graphics can last much longer than six months if they’re made of durable materials and are properly installed and cared for. In this post, we’ll look at six different factors that can play into how long your floor graphic will last.
1. Indoor or Outdoor
How long your floor graphics will last depends in part on whether you install them indoors or outdoors. While the name “floor graphics” may lead you to picture graphics on a floor inside, floor graphics can also be placed outside. Asphalt parking lots and concrete sidewalks may not be floors per se, but they’re a perfect location for floor graphics.
Of course, being applied outside means your graphics will be exposed to the elements. Rain, snow and ice can cause a graphic to get wet repeatedly and possibly stay wet for long spans of time. This will contribute to wear. Another issue is that extreme temperature fluctuations can negatively affect the graphic’s adhesive back.
While you can’t do much about the temperature or precipitation outside, you can take steps when you initially apply your graphic outside to make sure it’s thoroughly adhered to the asphalt or concrete surface. When a graphic has firmly adhered to a smooth surface without air pockets underneath, it helps keep moisture out. Here are a few tips to follow for applying outdoor graphics to make them last longer:
- Make sure you apply graphics on a section of asphalt or concrete that is relatively smooth, even and free of cracks.
- If you can’t find a way around holes or cracks, fill them first and allow the filler to dry before applying the graphic.
- Don’t apply a graphic at a low point where rainwater or water from melted snow or ice will drain and collect.
- If there end up being some air gaps under the graphic where seams in the pavement are, use a heat gun to conform the graphic to the ground.
So, as we’ve seen, outdoor graphics experience more serious wear than indoor graphics do. Floor graphics intended for outdoor use should be created with more heavy-duty materials, especially in regard to the matte covering that helps protect the graphic printed on the vinyl substrate. Even with more durable materials, though, outdoor graphics need to be replaced more frequently than indoor ones. While indoor floor graphics typically last six months, and can often last for a year or more, outdoor graphics generally need to be replaced after about three months.
2. Material and Condition of the Floor
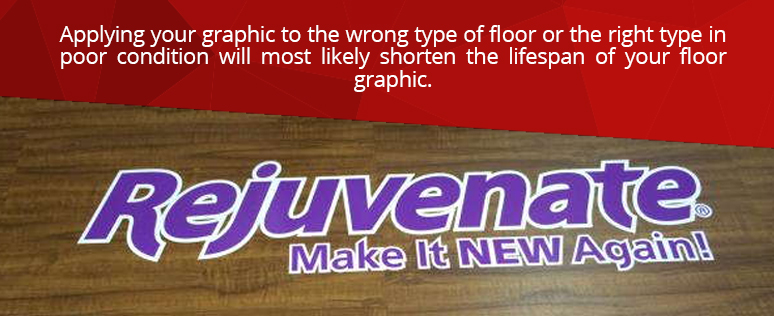
If your floor graphic is applied indoors, the material and condition of the floor can affect how long your graphic lasts. Applying your graphic to the wrong type of floor or the right type in poor condition will most likely shorten the lifespan of your floor graphic.
To maximize a floor graphic’s lifespan, first, make sure you only apply it on an approved surface. For example, some floor graphics are designed for carpet, but not all. In most cases, tile, vinyl and wood are all good surfaces for applying a floor graphic indoors.
The material of the floor isn’t the only important factor to pay attention to. The condition of the floor when you apply the graphic can affect how well the adhesive sticks to the floor and, therefore, how long the graphic lasts before it starts to peel up from the floor. For starters, floors should be smooth. They shouldn’t be porous, waxy or dirty. To make sure your floor is ready to apply a graphic on it, do the following:
- Refrain from waxing it in the 24 hours before you’re going to apply the graphic.
- Clean the floor with a mild detergent, and dry with a lint-free cloth or paper towel.
- Use a lint-free cloth or paper towel moistened with rubbing alcohol to degrease the floor and wipe dry.
A clean floor that is free of dirt and of soapy or greasy residues will allow your graphic’s adhesive back to bond more securely with the floor’s surface. It also helps if you place your floor graphic in a location where it doesn’t run into any grout lines since they can allow air to get trapped under the graphic, which will result in premature peeling. Ideally, you should leave a half an inch between the edges of the graphic and any grout lines or tile edges.
3. Material of the Graphic
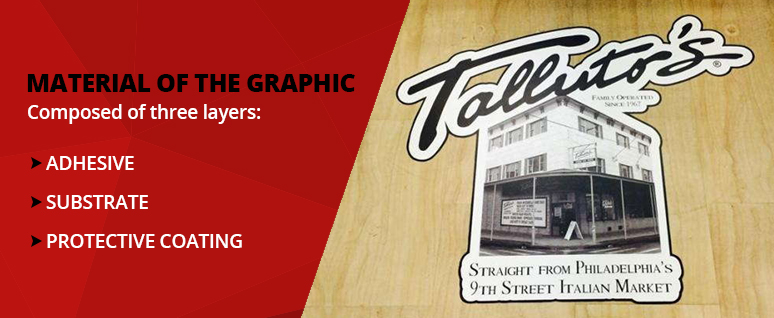
The surface your graphic is placed on is certainly important, but so is the graphic itself. All floor graphics are composed of three layers:
- Adhesive: This is the bottom layer that sticks the graphic to the floor. Some adhesives are made to be easily removable while others are stronger and more permanent.
- Substrate: This is the layer the graphic is printed on. In most cases, it’s vinyl. Since this layer is contained in the middle, it’s protected on both sides, but the type of material and inks used to print on it will still affect the graphic’s quality overall.
- Protective coating: On top of the printed graphic, there is a layer of protection — typically, an anti-skid laminate coating or matte mask. Since this is the layer that people will be walking on, it can make a significant difference how durable the coating is made to be. This layer is also made to be a non-slip surface so people can safely walk on it. Outdoor graphics may have an even more textured surface.
In the case of every material that goes into making a floor graphic, there are various options available, some more durable than others. If you want your floor graphic to last as long as possible, ask your print studio which materials they have available that are made to be more durable, and find out how long they or the material manufacturer guarantees those materials to last.
4. Amount of Foot Traffic
You may find that the same floor graphic made from the same materials installed at the same time may wear out at different rates depending on where they’re placed.
You want your graphic to get noticed, so foot traffic is a good thing. After all, if no one’s walking on your floor graphic, it probably means it isn’t getting the exposure it was intended for. That said, excessive amounts of foot traffic can cause your graphic to wear out prematurely. This is true both indoors and outdoors.
The best place to position a floor graphic is somewhere you know it will be seen without being stepped on constantly. Think in terms of avoiding the heaviest-traffic areas and choosing a location just a tier down from that — a place that still receives a lot of foot traffic but isn’t quite as concentrated.
For example, an entryway is not a good place to put a floor graphic since everyone must walk through this area. An entryway is also a poor choice because people may track water in on the bottoms of their shoes, which could damage the floor graphic. A better choice would be to locate the graphic a little farther into the building.
If you’re using floor graphics for wayfinding purposes, then you probably won’t have much choice when it comes to their placement. That could mean you can’t avoid heavy foot traffic in some instances. If so, that’s okay. Just be prepared to potentially replace some graphics sooner than others.
5. How Carefully the Graphic Was Installed
The way your graphic is installed also affects how long you can expect it to last. If you apply a graphic to the floor carelessly without paying careful attention to each step of the application process, you might end up with a floor graphic that is somewhat flawed from the beginning. That initial act of adhering the graphic to the floor, if done ineffectively, could cause your graphic to become unstuck from the floor and damaged sooner than it should.
The key to making sure your graphic adheres effectively is to take the process slowly and carefully so that you get the positioning right the first time. You don’t want to have to lift up the graphic after it’s stuck to the floor once, even if just for a moment. To be extra careful, use a piece of masking tape to tack down the graphic where you want it, with the paper backing still on the back. You can remove the masking tape when you’re done removing the backing paper and the graphic is stuck to the floor.
The other important thing is to get out all of the air bubbles. Air bubbles are the enemy of your floor graphic’s smooth appearance and durability. You can avoid air bubbles by only peeling back about 4 inches of the backing paper at a time and sticking down just that section before peeling back more of the paper and continuing to stick the graphic to the floor.
As you go, use a squeegee or an equivalent tool to push out any air pockets or bubbles. Push down so that the air can escape out the end where the graphic is still lifted from the floor.
The final part of the application process is to let the graphic sit for 24 hours so the adhesive can fully cure. During this time, don’t clean or even walk on the graphic. By carefully following the guidelines for installation, you can give your floor graphic a strong start. The better it’s applied, the longer it will last.
6. How Well-Maintained the Graphic Is
It’s probably no surprise that how well you maintain your floor graphic is also a factor that can affect how long it lasts. Essentially, you want to protect it from damage. Damage can come from:
- Buffing: Don’t buff your floor graphic unless it is covered in a thorough coating of wax. You want to make sure it’s actually the wax that gets buffed, not the graphic’s protective coating.
- Heavy equipment: If your graphics are applied on a warehouse floor, avoid driving heavy equipment, such as forklifts, over them.
- Heavy items: Try to avoid dragging or pulling heavy items across floor graphics or setting them down on floor graphics.
- Harsh cleaners: Aggressive cleaning agents can damage floor graphics, so only wash them with mild soapy water. Use a scratch-free cloth to wipe them down.
- Water: Floor graphics shouldn’t be allowed to soak in water. If water spills, dry it up quickly. This is also why you want to keep graphics away from entry points where people sometimes track water inside.
Caring for your floor graphics is fairly simple, but it’s important if you want to extend the life of your graphics. In many cases, the main concern is to be careful with your cleaning methods so that you don’t end up accidentally harming the surface of the graphic. Since different protective coatings may be able to handle different types of treatments or wear, ask your print studio if there are any special precautions you should take to make sure your floor graphic holds up well.
When Should I Replace Floor Graphics?
So, how do you know when the time has come to remove your floor graphics? In most cases, you should replace your floor graphics if the edges are peeling and curling up from the floor or if other parts of the graphic are separating from the floor. Of course, if you think the material could possibly cause someone to trip over it, remove it at once.
You shouldn’t notice any fading of the ink on the print itself as long as your printer uses quality inks. However, if the image is compromised by scratches or other defects, that may also be a reason to remove the graphic and install a new one in its place.
Get Quality Floor Graphics From SpeedPro
For floor graphics that are both durable and visually striking, partner with SpeedPro. We use inks, adhesives, laminates and other materials that are the best available from top manufacturers. When you consult with our staff, they’ll make sure we deliver graphics perfect for your intended application.
As a national brand with a wealth of expertise and a wide range of capability, SpeedPro can provide all sorts of large-format graphics, from banners to murals and more. From design to installation, Speedpro is the resource you need to create large-format graphics that are sure to capture people’s attention.
With a nationwide network of over 120 studios, we encourage you to start by finding a SpeedPro studio near you. You can let us know what you’re interested in and request a quote. We’re here to help you achieve visually stunning and durable graphics that bring your business to the next level.


